 Sudden Valley Siding
 Why New-Construction Windows Are a Different Job Than Replacement
New-construction windows go into a house that doesn't have siding, trim, or a finished weather barrier yet. That's an advantage if it's done right — the crew can flash and seal the window into the wall assembly from scratch instead of working around existing material. It's also where a lot of long-term water problems get built in, because the window itself is rarely what fails. What fails is the sequencing around it: the order the weather-resistive barrier (WRB), flashing tape, sill pan, and siding go on. Get that sequence wrong and the window can look perfect for years before a leak shows up inside a wall cavity where nobody can see it.
For a home being built or added onto on Yew Street in Sudden Valley, we treat the window install as part of the whole wall system, not a standalone task. That means coordinating with the framer, the siding crew, and whoever installs the weather barrier so nothing gets covered up before it's checked.
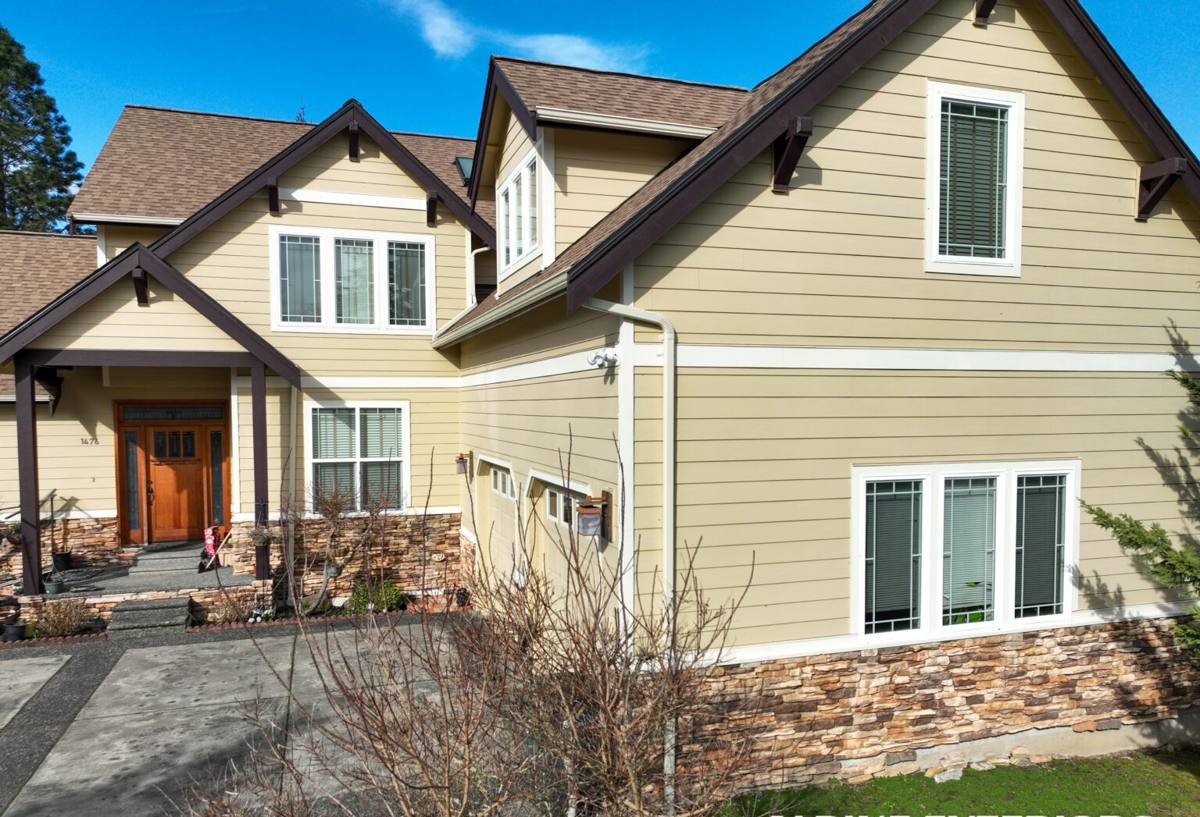
What Sudden Valley's Climate Asks of a New Window Install
Whatcom County homes deal with a long wet season, driving rain that hits walls at an angle instead of just falling straight down, and enough humidity and shade in places to grow moss on anything that stays damp. Salt-tinged coastal air adds a slow corrosive edge to exposed metal fasteners and flashing over the years. None of that is dramatic on its own, but it adds up over a Northwest winter after Northwest winter if the window opening wasn't detailed correctly the first time.
Practically, that means:
- Sill pans and flashing need to shed water outward, not just block it — a flat or reverse-sloped sill will hold water against the frame during a long rain event.
- Fastener and flashing metal should be corrosion-resistant, since coastal-influenced moisture in the air works on bare steel over time.
- Head flashing needs enough of a drip edge that wind-driven rain doesn't get pushed back up under it.
- Any exposed trim or sill detail should be able to dry out between storms — the moss and mildew problems we see later almost always trace back to a spot that never fully dries.
Driving Rain vs. Standard Detailing
A lot of window flashing instructions are written for average rainfall, not sideways rain off a storm system. On more exposed sides of a lot — open to wind, less tree cover — we'll sometimes add an extra course of flashing tape or a slightly deeper head flashing profile. It's a small material cost during new construction and a non-issue later. Retrofitting it after siding is on is a much bigger job.
What a Correct New-Construction Window Install Actually Involves
There's a specific order of operations that keeps water moving out of the wall instead of into it. Skipping steps or doing them out of sequence is the single biggest cause of window-related water damage we get called to diagnose in existing homes.
1. Rough Opening Prep
The opening gets checked for square and correct size before anything else happens. An opening that's out of square forces the installer to shim unevenly, which stresses the frame and can keep the window from operating smoothly for the life of the house.
2. Sill Pan Flashing
A sloped or pan-style sill flashing goes in first, so any water that ever gets past the window has a built-in path back outside instead of sitting on bare sheathing.
3. Weather-Resistive Barrier Integration
The WRB needs to lap correctly with the window flashing — over the top, behind the sides, and always shedding downward like shingles. This is the step that's easiest to rush and hardest to fix once siding is on.
4. Window Setting and Fastening
Nailing-fin and block-frame windows are set differently, but both need to be plumb, level, and fastened per the manufacturer's schedule — not "close enough." Under- or over-fastening both cause problems, from air leaks to frame distortion.
5. Head Flashing and Final Sealant
Head flashing goes on last, over the top of the WRB, so water is always directed out and over whatever's below it. Sealant is used at specific joints, not smeared everywhere — over-sealing can actually trap moisture that needs to escape.
How Our Process Works on a Yew Street Job
Because we already do siding work throughout Sudden Valley, we're used to being the crew that has to live with whatever happened at the window stage. That shapes how we approach new-construction window installs, whether we're doing the whole envelope or just the window and flashing package ahead of someone else's siding.
- Walkthrough and opening check — verify rough openings against window schedules and catch framing issues before install day.
- Flashing plan review — confirm sill pan, WRB lap order, and head flashing approach for each elevation, adjusting for sides more exposed to wind and rain.
- Install and document — set windows to manufacturer spec, photograph flashing details before they're covered by siding, so there's a record of what's behind the wall.
- Handoff or continue to siding — if we're not doing the siding, we walk the finished window package with the next crew so nothing gets missed at the transition.
That documentation step matters more than it sounds. If a question ever comes up years later about how a wall was built, having photos of the flashing before it was covered saves everyone a lot of guesswork.
Window Types and What They Cost You Over Time
Frame material affects both the install detailing and how the window holds up in a wet climate. Here's the general trade-off pattern we see on new construction:
| Frame Type | Moisture Behavior | Install Sensitivity | Typical Upkeep |
|---|---|---|---|
| Vinyl | Doesn't rot or corrode; can flex slightly with temperature swings | Moderate — needs correct fastening to avoid bowing | Low |
| Fiberglass | Very stable, minimal expansion/contraction | Moderate | Low |
| Wood (clad or unclad) | Handsome, but exposed wood needs consistent maintenance in a wet climate | Higher — flashing and finish both matter | Higher, especially unclad |
| Aluminum | Durable but a poor thermal performer unless thermally broken | Moderate | Low, watch for condensation |
We don't push one brand or material as a blanket answer — the right call depends on the home's design, budget, and how exposed the walls are to weather. What we're firm about is the installation standard: flashing sequence and fastening schedule don't get shortcuts regardless of which window line goes in.
Mistakes We See on New Construction (and How We Avoid Them)
- WRB lapped the wrong direction at the window — sends water into the wall instead of out.
- Sealant used instead of flashing — caulk isn't a substitute for a proper flashing path; it degrades and cracks long before flashing metal or tape does.
- Missing or flat sill pans — water sits against the sill instead of draining, which is where moss and rot start.
- Siding installed too tight to the window trim — no room for the assembly to shed water or for materials to expand and contract.
- No photo record — once siding covers the flashing, there's no way to verify it was done correctly without opening the wall.
A Practical Checklist Before Siding Goes On
If you're a homeowner or builder tracking progress on a Yew Street build, these are reasonable things to ask about or check before the siding crew closes up the walls:
- Sill pan flashing installed and sloped to drain outward
- WRB laps correctly over flashing at head, under at sill (shingle-style, top to bottom)
- Window fastened per manufacturer's schedule, plumb and square
- Head flashing installed with adequate drip edge on rain-exposed elevations
- Sealant used only at specified joints, not as a general water barrier
- Photos taken of flashing details before covering with siding
Why Hiring a Crew That Already Works Sudden Valley Matters
Window flashing standards are the same on paper everywhere, but how much margin you build in — extra flashing courses, sill pan depth, drip edge sizing — should reflect what a specific site actually deals with. A crew that works Yew Street and the rest of Sudden Valley regularly has already seen how the local rain patterns, tree cover, and lake-adjacent humidity play out on real houses, not just in a manual. That's the difference between a window install that meets code and one that's actually built for the winters it'll sit through.
We also know the local building department's expectations and typical inspection points for Whatcom County new construction, which keeps the schedule moving instead of stalling on a flashing detail that has to be redone.
If you're framing up new construction or an addition on Yew Street and want the window package done right the first time, we're glad to walk the plans with you and give you a straightforward, no-pressure estimate — just fill out the form below.