 Sudden Valley Siding
 Why Window Installation in South Hill Needs a Different Approach
South Hill sits up above the rest of Sudden Valley, which means it catches more of what Whatcom County's weather has to offer — wind-driven rain that comes in sideways instead of straight down, salt-tinged air moving inland off the water, and a wet season that stretches on long enough for moss to get a foothold on anything that stays damp. Windows take the brunt of that. They're the one part of the exterior envelope with the most seams, the most hardware, and the most opportunities for water to find a way in if the installation isn't done right the first time.
A window that's fine in a sheltered, low-elevation yard can fail years earlier at a South Hill elevation where it's exposed to more wind pressure and more direct rain. That doesn't mean you need exotic materials — it means the flashing, the sealant, and the fit have to be done correctly, because there's less margin for error.
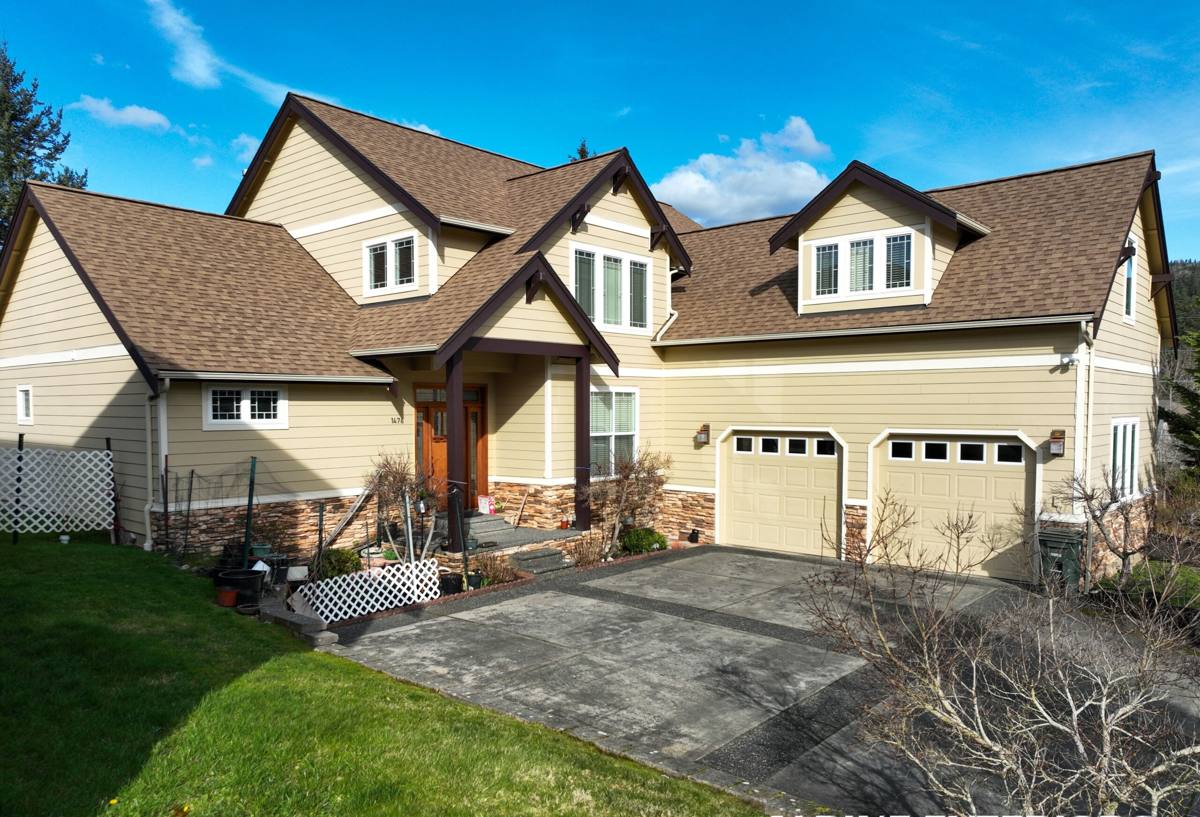
Signs Your Windows Are Losing the Fight
Most window failures don't announce themselves with a flood. They show up as small, easy-to-ignore symptoms first. If you're seeing more than one or two of these, it's worth having someone take a real look rather than just re-caulking and hoping.
- Fogging or a milky haze between the panes of a double-pane window (the seal has failed and the gas fill is gone)
- Windows that are hard to open, close, or lock, or that have started sticking with the weather
- Visible gaps, cracked caulking, or shrinking sealant around the frame
- Soft or discolored wood at the sill or lower corners of the frame
- A noticeable draft when you hold your hand near the frame on a windy day
- Condensation forming on the inside of the glass regularly, even with normal ventilation
- Moss, algae, or dark streaking building up on or just below the sill
- A heating bill that's crept up without any other explanation
What a Correct Installation Actually Involves
Window installation looks simple from the outside — old window out, new window in — but the parts that actually determine whether it lasts are mostly hidden once the trim goes back on. This is where a rushed job and a correct job diverge.
Removal and Inspection
Pulling the old window is also the only chance to see what's really going on behind it. We check the sheathing, the framing, and the sill for rot or soft spots before anything new goes in. In a climate that gets as much driving rain as this one, it's common to find some degree of hidden moisture damage around an older window, even when the interior trim looked fine. That gets addressed before the new unit is set — installing a new window over a compromised opening just hides the problem for a few more years.
Flashing and Water Management
This is the single most important step for a house exposed to wind-driven rain. Flashing has to be layered correctly — sill pan first, then the sides, then the head flashing lapped over the top — so that any water that does get past the exterior cladding is directed back out, not into the wall cavity. Skipping or shortcutting this step is the number one reason window installations fail early, and it's invisible once the trim is back on.
Sealing and Insulation
The gap between the new window frame and the rough opening needs to be filled with a proper low-expansion insulating foam or backer rod and sealant — not just caulk smeared around the outside edge. Done right, this stops both drafts and moisture from tracking in along the frame, and it's a major part of how the window performs on your energy bill.
Trim and Finish Work
Interior and exterior trim gets reset, caulked at the right joints (and left open where it needs to drain, such as weep points), and painted or finished to match. A clean finish isn't just cosmetic — a poorly sealed trim joint is a common entry point for the moisture that eventually feeds moss and mildew growth around a window.
Choosing Materials That Hold Up Here
There's no single "best" window material — the right choice depends on your budget, your home's style, and how much upkeep you want to take on. For a South Hill home, moisture resistance and how the frame handles repeated wet-dry cycles matter more than they would in a drier climate.
| Frame Material | Moisture Resistance | Maintenance | Relative Cost |
|---|---|---|---|
| Vinyl | Very good — won't rot, doesn't need painting | Low — occasional cleaning | Lower |
| Fiberglass | Excellent — dimensionally stable in wet-dry swings | Low | Mid to higher |
| Wood-clad (exterior-clad, wood interior) | Good on the exterior clad side; interior wood needs protection from any leaks | Higher — relies on the seal staying intact | Higher |
| Aluminum | Fair — prone to condensation without a thermal break | Low | Varies |
We install vinyl and fiberglass on the large majority of South Hill projects because they handle the wet-dry cycling and salt-tinged air with the least long-term maintenance. Wood-clad windows can look great and we'll install them if that's what a homeowner wants, but we're upfront that any product with exposed or semi-exposed wood on this kind of site depends entirely on the seal and flashing staying perfect — there's less room for the small imperfections that show up over a 15- or 20-year lifespan.
Our Installation Process
- On-site assessment and measurement. We look at each opening individually — older homes are rarely perfectly square, and South Hill's mix of home ages means every job starts with real measurements, not assumptions.
- Written estimate. You get a clear breakdown of materials, labor, and scope before anything is ordered, with honest ranges rather than a padded number.
- Ordering and scheduling. We schedule around the weather where we can — flashing and sealing work goes best in a dry window, and we plan for that rather than fighting the rain.
- Site protection. Landscaping, flooring, and interior finishes near the work area get protected before removal starts.
- Removal, one opening at a time. We don't open up every window in the house at once — each opening is exposed, inspected, and closed back up before moving to the next, which limits how long any part of the house is exposed to weather.
- Installation, flashing, and sealing. The new unit is set plumb and level, flashed in the correct order, and sealed and insulated around the frame.
- Trim and finish. Interior and exterior trim is reinstalled, caulked, and finished to match the surrounding surfaces.
- Walkthrough and cleanup. We test operation and locking on every window, walk the job with you, and clean up debris and packaging before we leave.
Permits, Codes, and Energy Considerations
Whatcom County generally requires a permit when a window replacement changes the size of the rough opening, alters a structural header, or involves a bedroom egress window — a straightforward same-size swap is often more of a formality, but it's worth confirming rather than assuming. Washington's energy code also sets minimum performance requirements for replacement windows, which affects what U-factor and glazing options are acceptable. We handle the code and permit side of this so you're not the one tracking down requirements, and we'll tell you plainly if your project needs a permit before work starts, not after.
Why a Local South Hill Crew Matters
Window installation isn't a job where general experience automatically transfers. A crew that works regularly in Sudden Valley and South Hill knows which elevations catch the worst of the wind-driven rain, how the moss season affects a freshly finished exterior in the first year, and which older local building patterns tend to hide rot behind the trim. That familiarity shows up as fewer surprises during removal, fewer callbacks, and a crew that isn't guessing at how the local climate will treat the materials over time. It also means we're close by if a question comes up after the job is done — not a company that drove in from somewhere else and won't be back.
Caring for New Windows After Installation
New windows installed correctly should need very little from you, but a few habits extend their life in this climate:
- Rinse sills and frames a couple of times a year to keep moss and algae from establishing, especially on shaded or north-facing windows
- Check that weep holes along the bottom of the frame stay clear of debris so water can drain out as designed
- Inspect exterior caulking annually, particularly after the wettest months, and have any cracked or shrinking sealant addressed before it becomes a leak
- Operate each window a few times through the year so hardware and weatherstripping don't seize up from disuse
If you're seeing any of the warning signs above, or you're simply ready to stop fighting drafts and moisture around your existing windows, we're happy to come take a look. A free, no-pressure estimate gets you a straight answer on condition, options, and cost — use the form below to get started.