 Sudden Valley Siding
 New-Construction Windows for South Hill Builds
When we say "new-construction windows," we mean something specific: windows installed into open stud framing before siding goes on, using a nailing fin that gets integrated directly into the weather-resistive barrier (WRB) and flashing system. That's a different job from replacing a window in a home that's already closed in. New construction gives us access to the rough opening from both sides, which is an advantage — but it also means the window's long-term performance depends entirely on how well the flashing, sill pan, and WRB layers were sequenced before the siding ever went up. Get that sequence wrong, and it's hidden behind finished walls for years before it shows up as a stain, a soft spot, or a drafty room.
For homes going up in South Hill and the surrounding Sudden Valley area, that sequencing matters more than in a lot of places, because of what the local climate does to a building envelope over time.
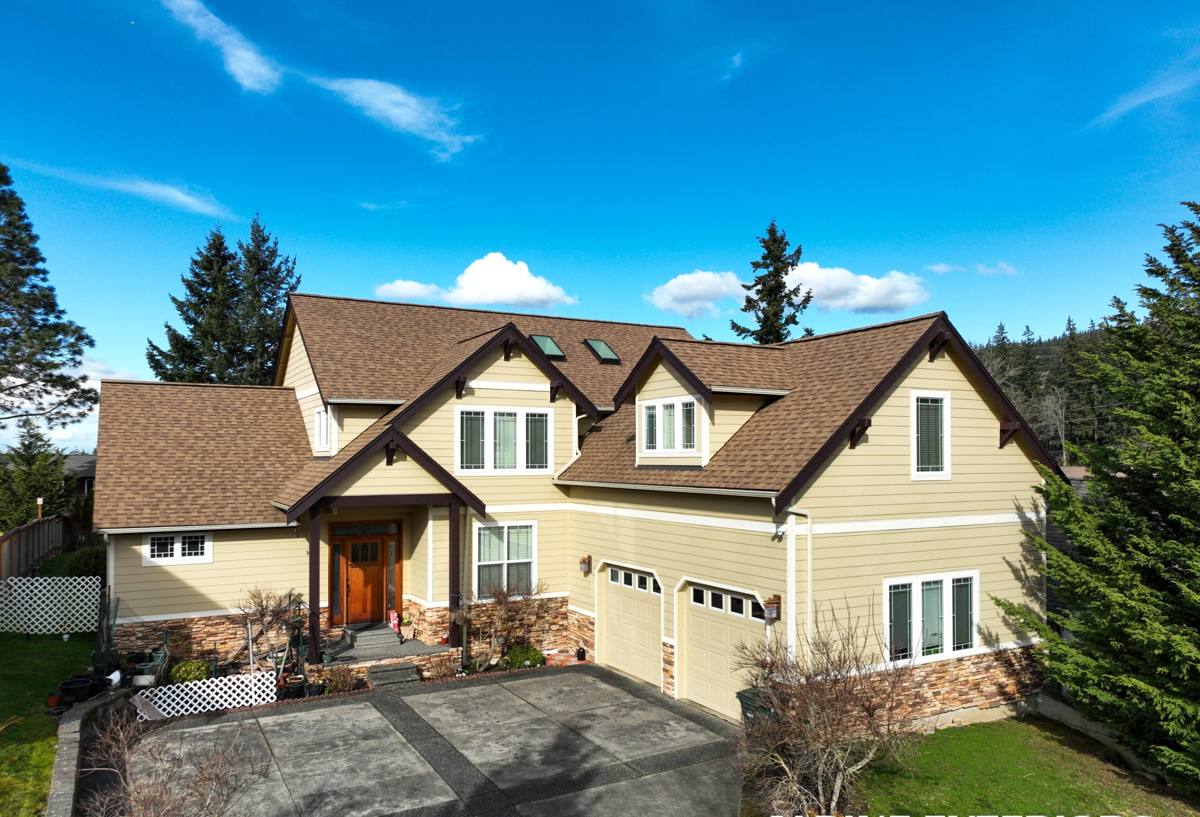
Why the Local Climate Changes How We Approach the Job
Whatcom County sees a lot of moisture-laden air, driving rain that comes in at an angle rather than straight down, and long stretches of gray, damp weather where surfaces stay wet longer than they dry. That combination is why moss takes hold on north-facing roof lines and shaded siding for much of the year, and it's the same reason window openings need real redundancy built in — not just caulk and hope.
Salt-carrying air and wind-driven moisture accelerate corrosion on fasteners and hardware that aren't rated for it, and they push water into any gap in a wall assembly that isn't properly lapped. A window opening is the single biggest interruption in a home's water-resistive barrier. If the flashing details around it aren't done in the right order — bottom to top, each layer lapping over the one below — wind-driven rain will find the seam eventually. New construction is the one point in a home's life where fixing that is cheap and easy, because the wall isn't finished yet.
What a Correct New-Construction Install Involves
The Sill Pan Comes First
Before a window ever sits in the opening, the rough sill needs a sloped, sealed pan — usually a flexible flashing membrane formed up the jambs and sloped slightly to the exterior — so that any water that does get past the window in a heavy storm drains back out instead of sitting on wood framing.
Flashing Sequence, Not Just Flashing
Jamb flashing goes on next, then the window itself, then head flashing, then the WRB is lapped over the top in shingle-style order — each course overlapping the one below it, the way roofing works. Skipping the order, or taping over gaps instead of properly lapping material, is the single most common defect we find when we're called in to fix a leak in a home that's only a few years old.
Nailing Fin Attachment and Shimming
The window has to be plumb, level, and square in the opening before the fin is fastened — a window that's slightly racked will bind, won't seal against its own weatherstripping correctly, and will stress the glass seal over time. We shim to manufacturer spec and fasten with corrosion-resistant fasteners appropriate for coastal-influenced air, not standard interior-grade hardware.
Interior Air Sealing
Once the exterior is weathered in, the gap between the window frame and the rough opening gets sealed on the interior side with low-expansion foam or backer rod and sealant — this is what actually stops drafts and controls condensation risk, and it's often skipped or done sloppily because it doesn't affect whether the window "looks" installed.
Choosing the Right Window for a South Hill New Build
Frame material matters more in a wet marine climate than in a dry one, because the material spends more of the year in contact with moisture. Here's how the common options actually compare for new construction in this area:
| Frame Material | Moisture Behavior | Maintenance | Typical Cost Position |
|---|---|---|---|
| Vinyl | Won't rot; performs well if installed with proper drainage | Low — occasional cleaning | Most economical |
| Fiberglass | Dimensionally stable across temperature and moisture swings | Low | Mid to upper-mid |
| Wood-clad | Good if cladding and flashing are flawless; exposed wood at cuts/joints is a vulnerability | Higher — joints and end grain need monitoring | Highest |
| Aluminum | Durable but conducts heat/cold and can condense on interior in this climate | Low | Varies |
We don't push one brand over another — the honest trade-off is usually installation forgiveness versus long-term aesthetics. Vinyl and fiberglass tolerate the wet cycle-and-dry pattern here with the least fuss. Wood-clad units can look excellent, but any nick in the cladding or gap at a mitered corner becomes an entry point for the kind of moisture that this climate never fully lets a wall dry out from. We'll talk through what fits your build's exposure, budget, and design goals rather than defaulting to one answer.
Our Process, Framing to Final Seal
- Rough opening check — verify size, square, and plumb before any window arrives on site
- Sill pan flashing — sloped, sealed, and lapped correctly at the corners
- Window set and shim — plumb, level, square, fastened per manufacturer spec
- Jamb and head flashing — installed in proper shingle-lap order
- WRB integration — housewrap or building paper lapped over flashing, taped, and inspected for continuity
- Interior seal — low-expansion foam or backer rod and sealant around the frame perimeter
- Pre-siding walkthrough — every opening checked before siding crews close the wall up
That last step is one a lot of crews skip because it takes time. We don't, because it's the last chance to catch a flashing gap while it's still visible instead of after it's covered by siding and trim.
Coordinating With Siding and Other Trades
New-construction windows don't get installed in isolation — they have to hand off cleanly to whoever's doing siding, trim, and exterior paint or stain. The window's flashing needs to be fully lapped and taped before siding starts, and the siding's own flashing (drip caps, kickout flashing at rooflines, trim details) needs to pick up where the window flashing leaves off without a gap. When we're on a build from the framing stage, we coordinate directly with the general contractor and siding crew so the handoff points are planned, not improvised on site. That coordination is where a lot of new-construction leaks actually originate — not from bad windows or bad siding, but from the seam between the two trades' work.
Common Mistakes We See on New Builds
- Flashing taped in the wrong order, so water is directed behind the barrier instead of over it
- No sloped sill pan — water sits on the sill instead of draining out
- Windows fastened before checking square, leading to binding hardware and premature seal failure
- WRB gaps left untaped around the rough opening corners
- Interior air sealing skipped because it's "not visible" once trim goes on
- Wrong fastener type used near the coast-influenced, humid air common to this region
- Siding installed tight to the window frame with no room for the assembly to move seasonally
What Drives Cost on a New-Construction Window Job
| Factor | Why It Matters |
|---|---|
| Number and size of openings | More openings and larger units mean more flashing detail work and labor hours |
| Frame material selected | Vinyl, fiberglass, wood-clad, and aluminum carry different material costs and install time |
| Story height and access | Second-story or vaulted openings require staging and slow the flashing sequence |
| Energy code glass package | Washington's energy code sets minimum performance for glazing, which affects unit pricing |
| Window style | Casement, awning, and specialty shapes take more time to flash correctly than standard sliders |
We'll walk your specific plan set and give you a straightforward number, not a rough guess — new-construction pricing is far more predictable than retrofit work because we're not dealing with unknowns hidden behind existing walls.
Why a Crew That Already Works South Hill Matters
Anyone can install a window. Installing one that holds up through years of Whatcom County's driving rain and moss-season damp is a different standard, and it comes from having done the flashing sequence enough times in this exact climate to know where water actually tries to get in. A crew that works Sudden Valley and the South Hill area regularly also knows the inspection expectations locally, has a working relationship with the framing and siding crews they're likely to hand off to, and isn't learning the region's weather behavior on your project. That's the difference between a window that's technically installed and one that's actually built to last here.
If you're planning a new build or addition in South Hill and want windows done right from the framing stage forward, we're happy to walk the plans with you. Reach out for a free, no-pressure estimate — there's a form right below to get started.