 Sudden Valley Siding
 New-Construction Windows Are a Different Job Than Replacement Windows
When a house in Bellingham is framed and ready for windows, that's the one point in the build where the window opening, the water-resistive barrier, and the siding all have to work together as one system. Get the flashing and sill details right at that stage and the window will shed water for decades. Get them wrong and no amount of caulk or good siding installed later will fully fix it — the water intrusion problems show up years down the road, usually as rot around the rough opening or stained sheathing that isn't found until a remodel. As a siding contractor working in Sudden Valley and out to Bellingham, we see both sides of this: the window install and the siding that has to tie into it, which is exactly why new-construction window work is a service we take as seriously as the siding itself.
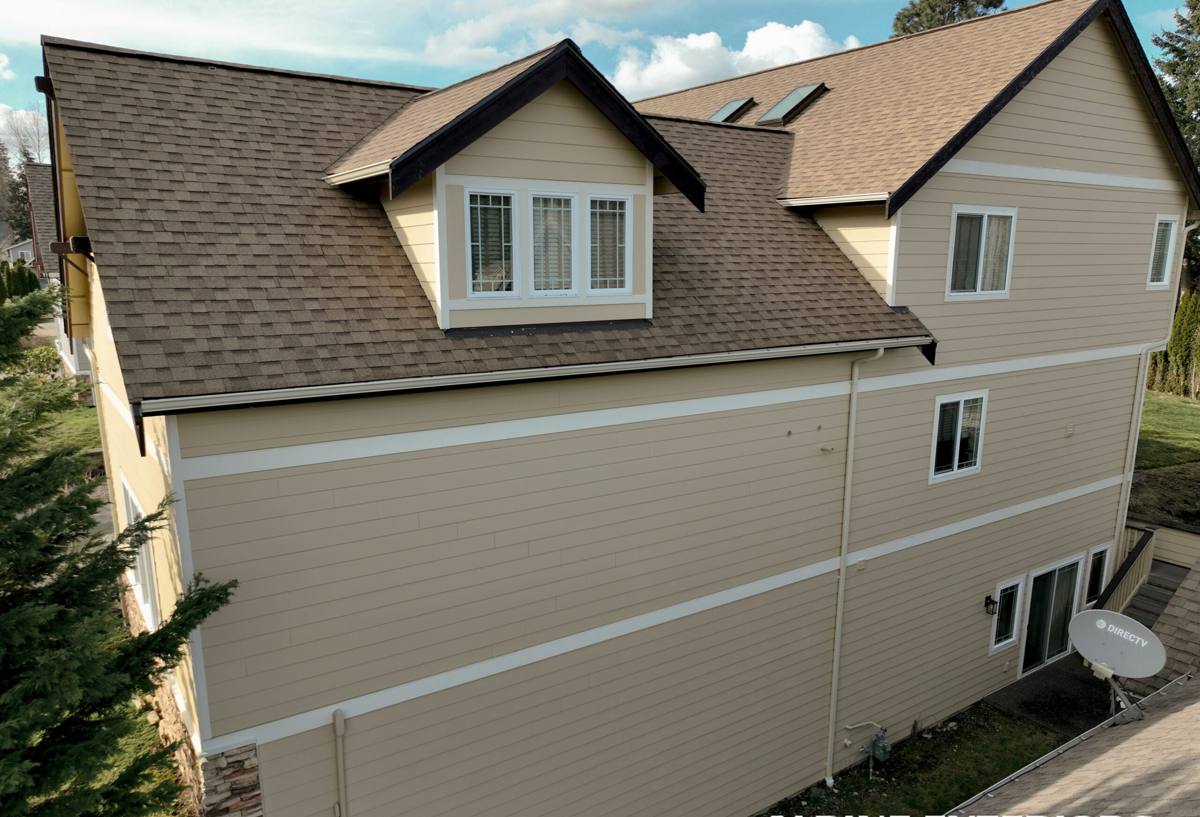
What Bellingham's Climate Asks of a New Window Install
Salt Air and Coastal Exposure
Homes closer to Bellingham Bay and the surrounding shoreline deal with salt-laden air that accelerates corrosion on fasteners, flashing, and metal window components. A window install that ignores this — using the wrong grade of screws or flashing tape not rated for long-term UV and moisture exposure — will show premature wear at the frame edges and hardware well before the glass or vinyl itself ages out.
Driving Rain Off the Water
Whatcom County gets wind-driven rain, not just straight-down rain, especially during fall and winter storms. That matters for window installation because a sill pan and flashing sequence that only handles vertical water won't stop water that's being pushed sideways and upward under a sill by wind pressure. New-construction framing gives us the chance to build in flashing details that handle driving rain from the start, rather than retrofitting a fix later.
A Long, Wet Moss Season
Bellingham's moss season runs long — shaded, damp conditions for much of the year that keep window sills, trim, and the siding around openings wet longer than they'd stay in a drier climate. Moss and algae hold moisture against building materials, so the sealant, flashing, and drainage details around a new window need to be built to shed water fast rather than let it sit.
New-Construction vs. Retrofit: Where the Work Actually Differs
Homeowners sometimes assume all window installation is the same job at a different stage. It isn't. Here's the practical difference:
| Factor | New-Construction Install | Retrofit / Replacement Install |
|---|---|---|
| Access to rough opening | Fully open — sheathing and WRB exposed | Limited — working around existing siding and trim |
| Flashing method | Full flashing flange integrated with WRB | Often flush-fin or block-frame, sealant-dependent |
| Sill pan installation | Built in before window sets | Retrofitted around existing framing, less flexibility |
| Best used when | New builds, additions, full sheathing tear-off | Existing home, siding staying in place |
New-construction windows use a nailing flange set directly to the sheathing, which lets us build a proper shingle-lap flashing sequence — a detail that's much harder to achieve correctly once siding is already in place. That's the main reason new-construction installs, done right, tend to outperform retrofits on long-term water management.
What a Correct New-Construction Window Install Involves
Sill Pan and Sloped Sill
Every rough opening gets a sill pan — a flashing membrane formed to the sill that slopes slightly to the exterior, so any water that gets past the window drains back out instead of sitting on the framing. This is one of the most skipped steps on lower-quality installs because it takes extra time, and it's the single detail most likely to prevent a future rot problem.
Flashing Sequence and WRB Integration
Flashing goes on in a specific order — sill pan first, then the window itself, then jamb flashing, then head flashing, each piece lapping over the one below it like shingles so water is always directed outward and down. The window's nailing flange has to tie into the weather-resistive barrier the same way, with the WRB lapped over the top flange, never under it. Get this order backwards and the assembly can actually funnel water into the wall instead of keeping it out.
Nailing Fin Fastening and Shimming
The window needs to be shimmed square and plumb before it's fastened — an out-of-square window binds, doesn't seal against its own weatherstripping correctly, and stresses the glass unit over time. Fasteners go through the nailing fin into solid framing at the spacing the manufacturer specifies, not just wherever is convenient.
Insulation and Air Sealing Around the Frame
The gap between the window frame and the rough opening gets sealed with a low-expansion foam or backer rod and sealant — never packed tight with standard expanding foam, which can bow the frame and cause the window to stop operating smoothly. This step also matters for energy performance, since a poorly sealed gap is a direct path for drafts.
Picking a Window Product for a Bellingham New Build
We install a range of window lines and don't push one brand as a universal answer — the right product depends on budget, exposure, and how the home is being built. For coastal Whatcom County builds, here's how the common frame materials stack up:
| Frame Material | Coastal Durability | Maintenance | Typical Cost Tier |
|---|---|---|---|
| Vinyl | Good — won't corrode or rot; can expand/contract with temperature swings | Low — occasional cleaning | Entry to mid |
| Fiberglass | Very good — stable in temperature swings, holds paint well | Low to moderate | Mid to upper |
| Wood-clad | Depends heavily on cladding and installation quality; exposed wood is vulnerable to Bellingham's damp climate | Higher — cladding seams and any exposed wood need monitoring | Upper |
| Aluminum | Fair — conducts cold, and lower-grade finishes can pit in salt air over time | Moderate | Varies |
Our default recommendation for most Bellingham new-construction projects is vinyl or fiberglass, simply because they hold up with the least ongoing maintenance in a marine climate. Wood-clad windows can look great and perform well, but only when the cladding and flashing are installed with zero shortcuts — any gap in that cladding becomes a moisture entry point in a climate this wet, so we're upfront with homeowners about that added installation sensitivity before they commit to a wood product.
How We Approach a Bellingham New-Construction Window Project
- Walk the framed opening with the builder or homeowner and confirm rough opening sizes against the ordered window specs before anything is installed.
- Install sill pans and pre-flash each opening in the correct shingle-lap order.
- Set, shim, and square each window, then fasten per manufacturer spec.
- Integrate flashing with the WRB, lapping correctly so the system drains outward.
- Seal and insulate the interior gap without over-packing the cavity.
- Photograph each opening's flashing before siding covers it, so there's a record of what's behind the wall.
- Tie the window flashing into the siding installation as one continuous water-management plan, since we're doing both trades.
Why It Matters That We're a Local Sudden Valley Crew
We're based in Sudden Valley and work Bellingham regularly, which means we're not learning Whatcom County's weather patterns on your project. We know how driving rain behaves on a west-facing wall near the water versus a sheltered lot further inland, and we know which details matter most given how long moss season actually runs here. A crew that only passes through the area a few times a year doesn't have that context, and window flashing is exactly the kind of work where local experience shows up in the details you can't see once the siding goes on.
Mistakes We See on New-Construction Window Jobs — and How We Avoid Them
- Skipping the sill pan to save time — we install one on every opening, no exceptions.
- Flashing tape applied out of order, so water gets directed into the wall instead of out — we follow a strict shingle-lap sequence every time.
- Over-caulking instead of proper flashing — sealant is a backup, not the primary water barrier, on every window we set.
- Packing the frame gap with high-expansion foam, which bows frames and causes windows to bind — we use low-expansion foam or backer rod and sealant instead.
- Fastening into shims without solid backing, which loosens over time — our fasteners go through to solid framing at proper spacing.
- Rushing to close in the wall before an inspection — we document flashing before it's covered, whenever the schedule allows it.
If a homeowner or builder is vetting a contractor for new-construction window work anywhere in Whatcom County, asking how they handle each of these points is one of the fastest ways to separate a careful crew from one that's just moving fast.
What to Expect After Installation
A correctly installed new-construction window shouldn't need attention for years beyond normal cleaning. What we do recommend in this climate is keeping an eye on the sills and trim during moss season — clearing debris and buildup so water keeps draining the way it's designed to, rather than pooling against the frame. If the windows came with a manufacturer warranty, we'll walk you through what it covers and what falls under our own installation workmanship guarantee, so there's no confusion later about who stands behind what.
If you're framing a new home or addition in Bellingham or elsewhere around Sudden Valley and want windows installed by a crew that treats the flashing and water management as seriously as the finished siding, we're happy to take a look at your plans and walk the site. Reach out for a free, no-pressure estimate using the form below.